
How to Design Footer Template
Footer Templates allow you to create and manage custom footers for your website using Elementor. Instead of being limited to a theme’s default footer, you get full design freedom and centralized control.
Getting Started with Theme Builder Footers
Step 1: Open the Theme Builder
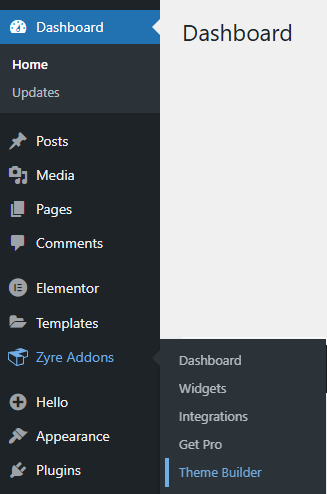
Log in to your WordPress admin panel and navigate to Dashboard → Zyre Addons → Theme Builder to open the Theme Builder management page.
Step 2: Add a New Template
- Click Add New Button to begin creating a new template.

Step 3: Create a Footer Template

- In the template type selection, choose Footer.
- Enter a name for your footerr template.
- Click Create Template.
This will open the Elementor editor.
Step 4: Design the Footer and Publish

- Use Zyre widgets (site logo, social icon, list, etc.) to build your footer layout as you want.
- Once your design is complete, click Publish.
Step 5: Set Display Conditions
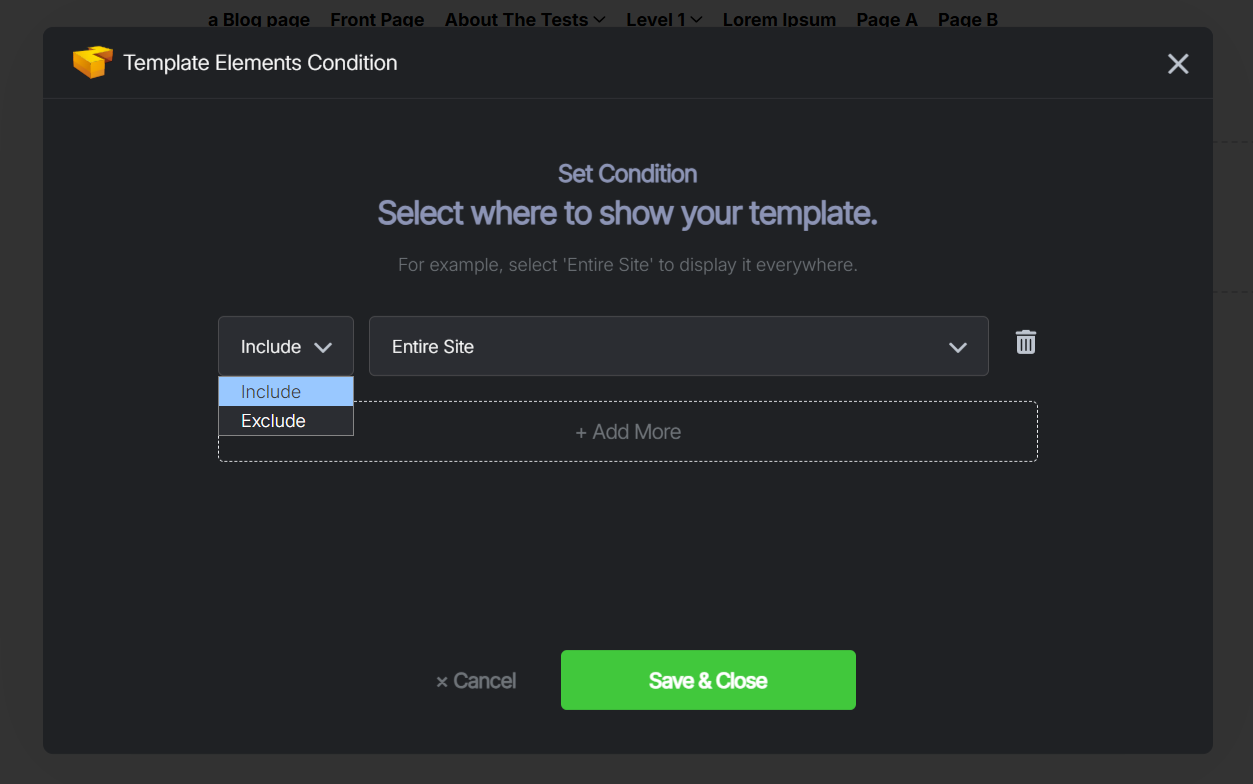
- A Template Display Conditions modal will appear after clicking on the publish button.
- Choose where the footer should appear:
- Include or Exclude
- Include : Determines where the footer will be shown.
- Exclude : Determines where the footer will NOT be shown, even if included elsewhere.
- Entire Site : Displays the footer across all pages, posts, archives, and custom content.
- Singular : Shows the footer on single posts, pages, and custom post types or Front page.
- Archives : Applies to all archive pages.
- Include or Exclude
- Click Save & Close to confirm.
These conditions control exactly where the footer is applied.
Step 6: View the Footer on Your Website
After saving the conditions, your footer will automatically appear on the selected pages. Any future edits to the footer template will update everywhere it’s applied—no need to edit pages individually.

⚠️ Important Note: If your theme or another plugin already uses its own footer (such as a theme builder footer or Elementor’s default footer), it may conflict with the Zyre Addon Footer Template. To avoid overlapping or duplicate footers, make sure to disable the existing footer from your theme or other builders before enabling Zyre footer.