
Author Box
Step-by-Step Tutorial on Using the Author Box Widget of Zyre Addon
With Zyre Addon’s Author Box Widget, you can showcase author profiles in style. Add names, bios, images, and social links to highlight the people behind the content and build stronger connections with your readers.
Learn How To Use Author Box Widget:
Exploring the Features of Author Box Widget
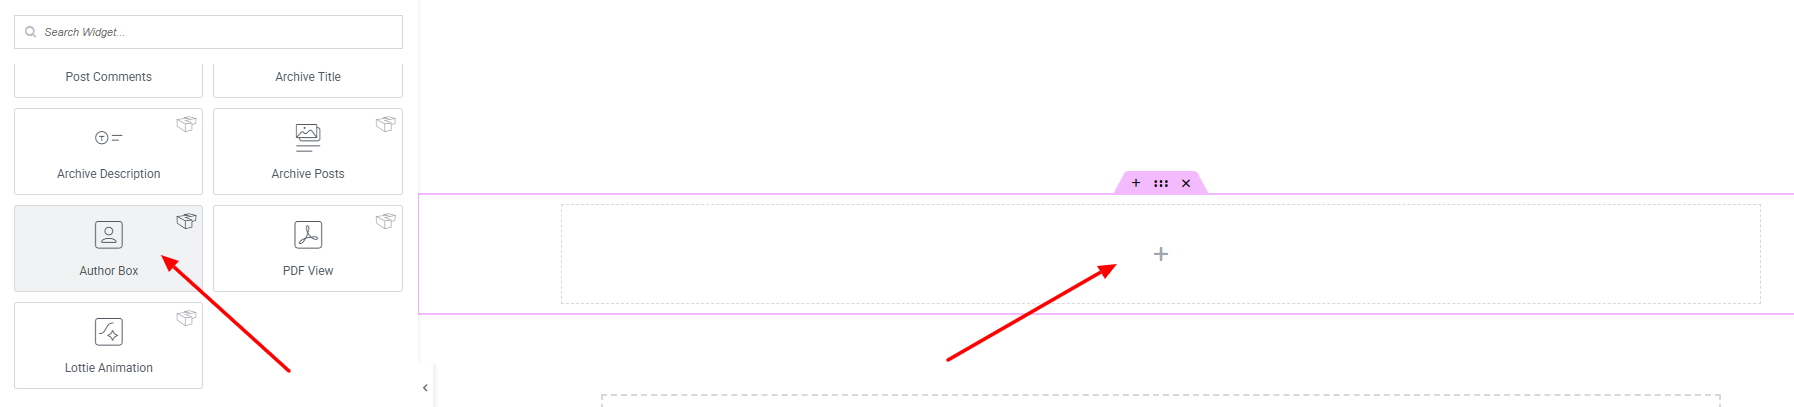
Step 1: Drag the widget
From the left panel, search or choose the Author Box Widget of Zyre Addon and simply drag it into your desired section.
Step 2: Content tab
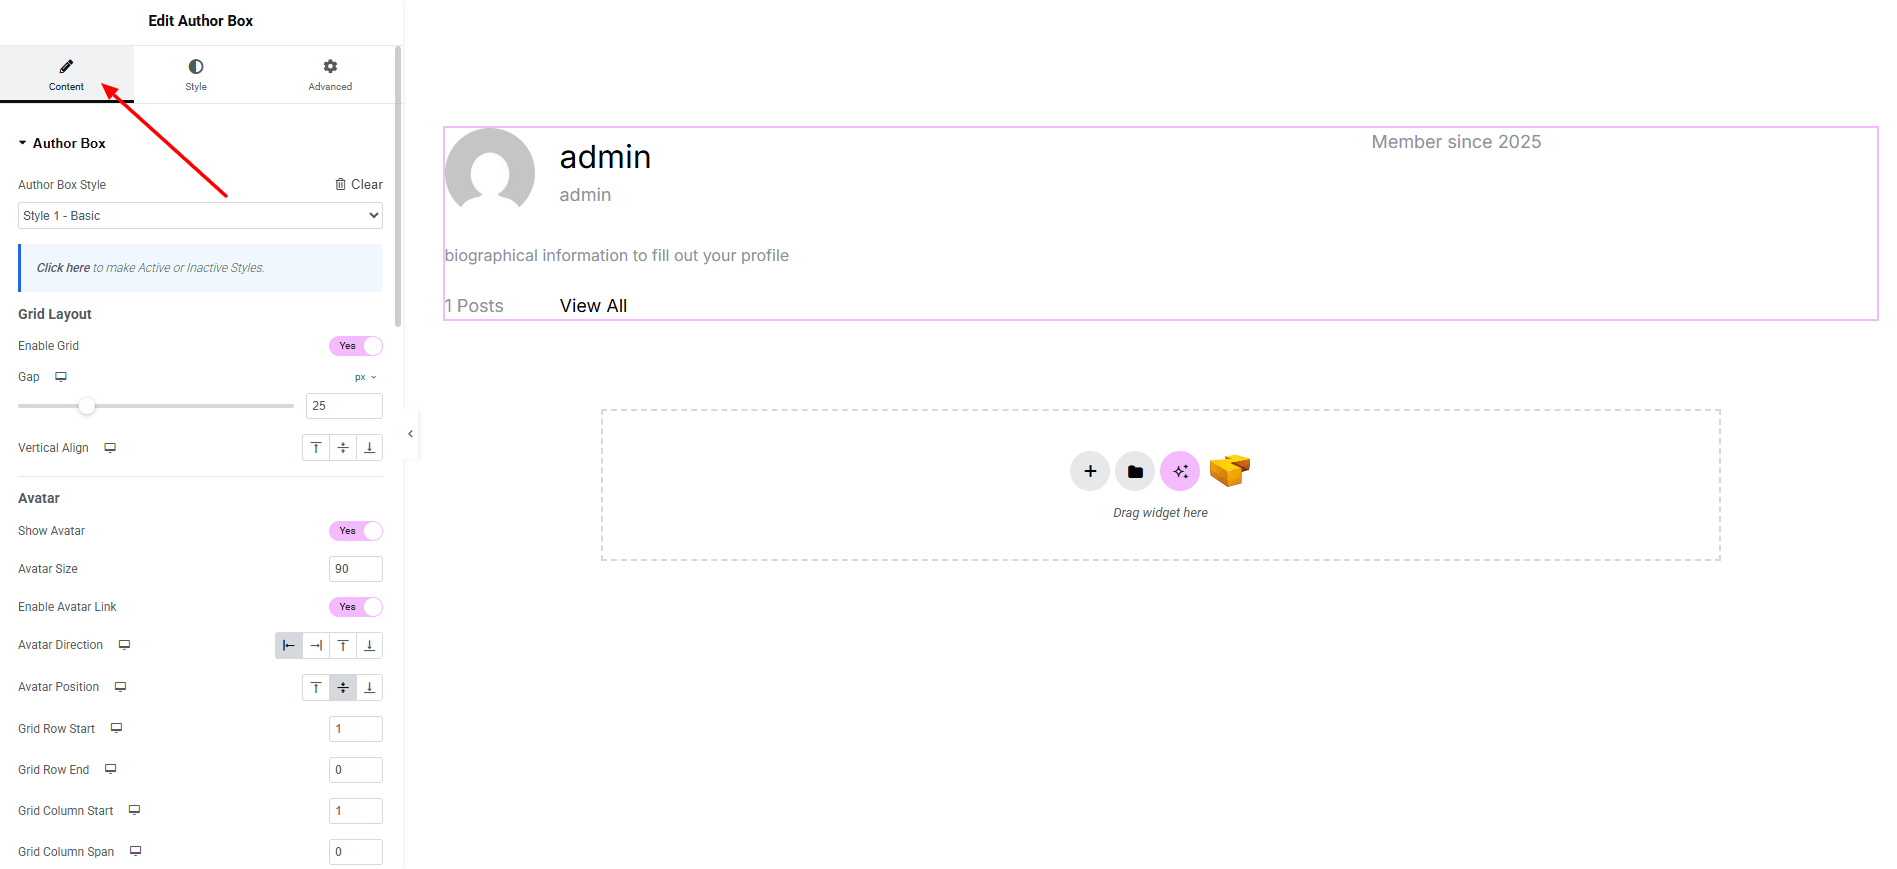
Author Box:
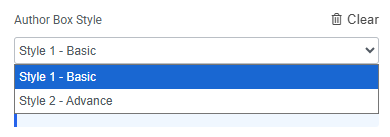
- Author Box Style : You can choose a predefined style from here
Grid Layout
- Enable Grid : Turn the grid layout on or off.
- Gap : Adjust the spacing between grid items.
- Vertical Align : Set the vertical alignment of content inside the grid.
Avatar
- Show Avatar : Show or hide the author’s avatar.
- Avatar Size : Adjust the size of the avatar image.
- Enable Avatar Link : Make the avatar clickable and link to the author page.
- Avatar Direction : Choose the direction of the avatar placement.
- Avatar Position : Control the exact position of the avatar in the layout.
- Grid Row Start : Set the starting row for the avatar.
- Grid Row End : Set the ending row for the avatar.
- Grid Column Start : Set the starting column for the avatar.
- Grid Column Span : Define how many columns the avatar spans.
Author
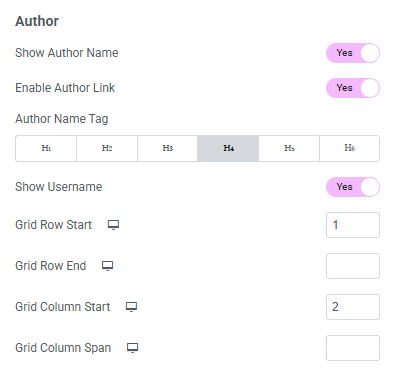
- Show Author Name : Show or hide the author name.
- Enable Author Link : Make the author name clickable.
- Author Name Tag : Select the HTML tag (H1–H6).
- Show Username : Show or hide the username.
- Grid Row Start : Define the starting row for the author name.
- Grid Row End : Define the ending row.
- Grid Column Start : Set the starting column.
- Grid Column Span : Define how many columns the name section spans.
Bio
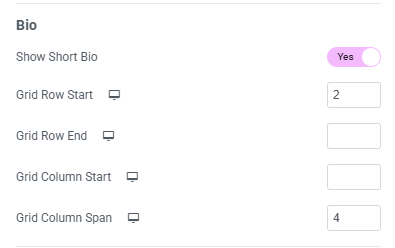
- Show Short Bio : Show or hide the author’s bio text.
- Grid Row Start : Set the row where the bio begins.
- Grid Row End : Set the row where the bio ends.
- Grid Column Start : Set the starting column for the bio.
- Grid Column Span : Define the bio’s column span.
Post Count
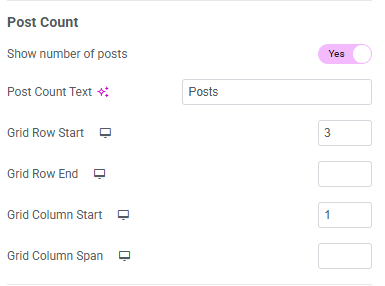
- Show Number of Posts : Show or hide the total number of posts by the author.
- Post Count Text : Customize the label displayed with the post count.
- Grid Row Start : Set the starting row for the post count.
- Grid Row End : Set the ending row.
- Grid Column Start : Set the starting column.
- Grid Column Span : Define how many columns the post count spans.
Post Link
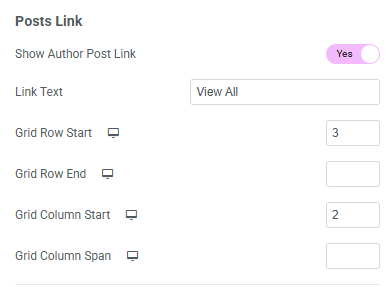
- Show Author Post Link (Toggle) : Show or hide the link to the author’s post archive.
- Link Text : Set the label for the link.
- Grid Row Start : Set the starting row for the post link section.
- Grid Row End : Set the ending row.
- Grid Column Start : Choose the starting column.
- Grid Column Span : Choose how many columns it spans.
Registered Date Section
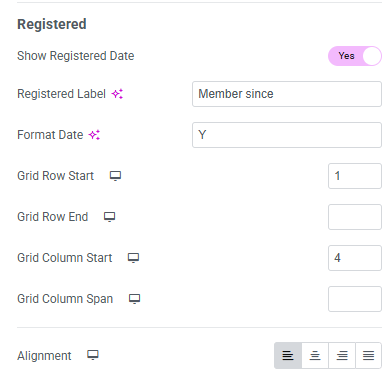
- Show Registered Date : Show or hide the author’s registration date.
- Registered Label : Set the label shown before the date.
- Format Date : Select the date format.
- Grid Row Start : Set the starting row for the registered date.
- Grid Row End : Set the ending row.
- Grid Column Start : Define the starting column.
- Grid Column Span : Define how many columns it spans.
- Alignment : Set the alignment for the author box (left, center, right).
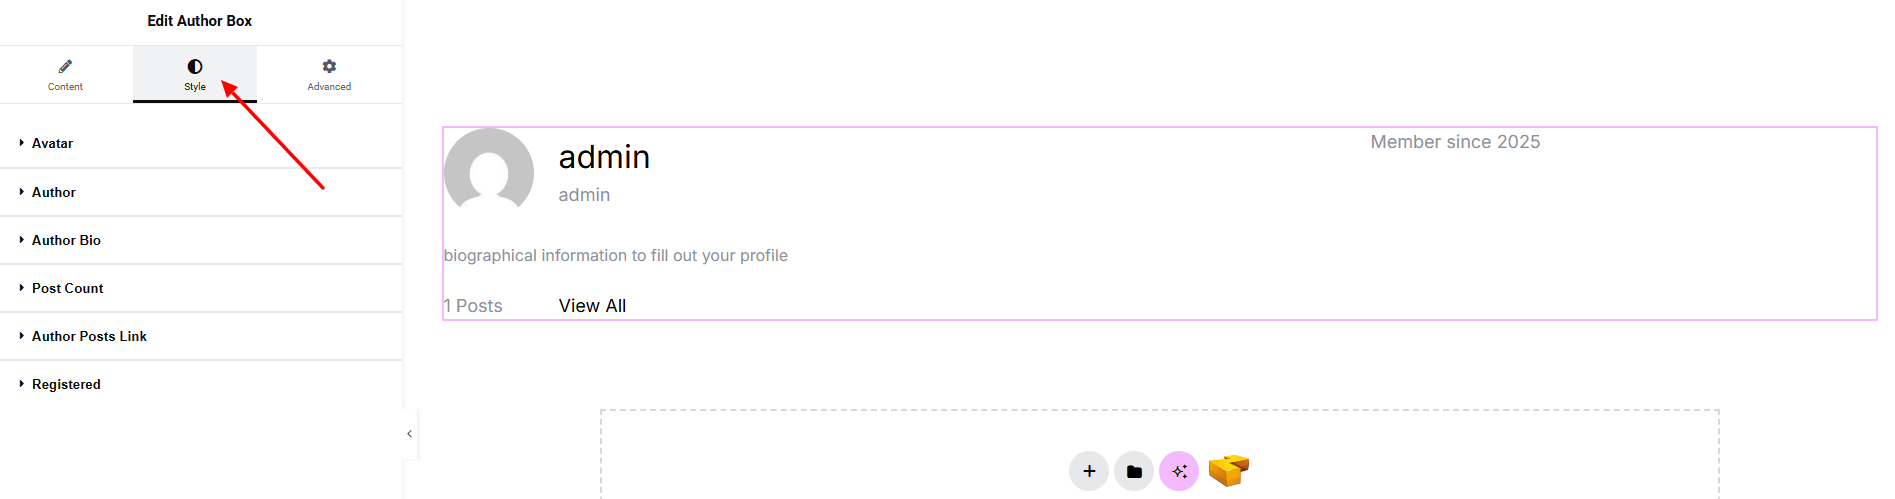
Step 3: Style tab
On style tab you can style the Avatar, Author Name, Author Bio, Author Posts Link.
Avatar:
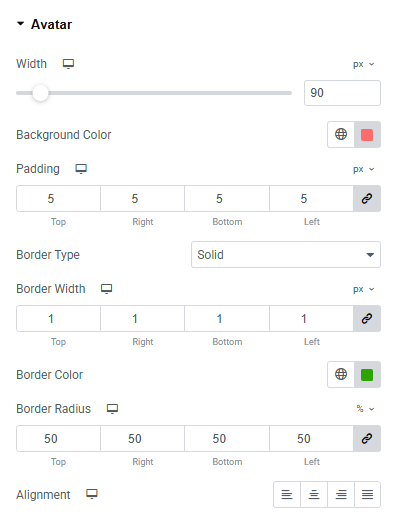
- Width : Set the width of the author avatar.
- Background Color : Apply a background color behind the avatar. Explore full background settings here.
- Padding : Control the inner spacing around the avatar.
- Border Type : Choose a border style, width and color.
- Border Radius : Adjust the roundness of the avatar corners.
- Gap : Set the spacing between the avatar and the author details.
- Alignment : Control the horizontal alignment.
Author:
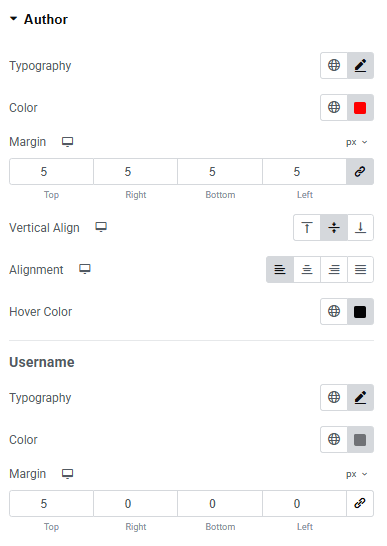
- Typography: Here you can customize the font family, size, weight, transform, style, decoration, line height, letter spacing, and word spacing for your text. Explore full typography settings here.
- Color : Choose color of Author name.
- Margin : Set outer space of the author name.
- Vertical Align : Adjust the vertical alignment of the author name within its container.
- Alignment : Control the horizontal alignment of the author name.
- Hover Color : Choose the text color when the author name is hovered.
Username
You’ll find the same design options for the Username part as in the Author Section— giving you full freedom to style it just the way you imagine.
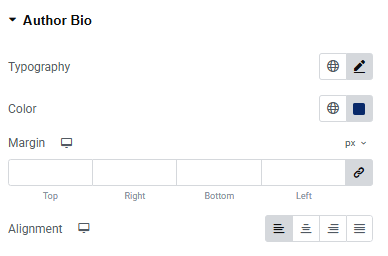
Author Bio:
You’ll find the same design options for the Author Bio Section as in the Author Section— giving you full freedom to style it just the way you imagine.
Post Count:
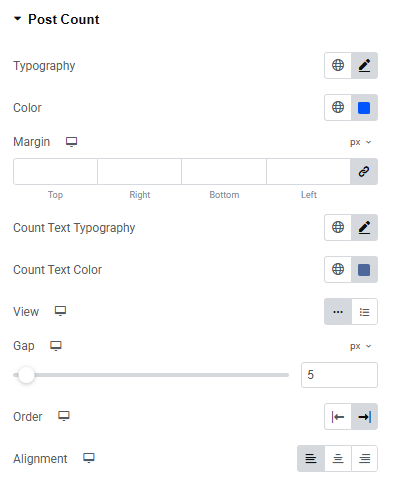
- Typography : Here you can customize the font family, size, weight, transform, style, decoration, line height, letter spacing, and word spacing for your text. Explore full typography settings here.
- Color : Set the color of the post count label text.
- Margin : Control the spacing around the post count section.
- Count Text Typography : Customize the typography for the count value.
- Count Text Color : Define the color of the count value.
- View : Choose between inline or block display styles.
- Gap : Adjust spacing between the label and the count.
- Order : Set the display order of the label and count.
- Alignment : Control the horizontal alignment of the post count section.
Author posts Link
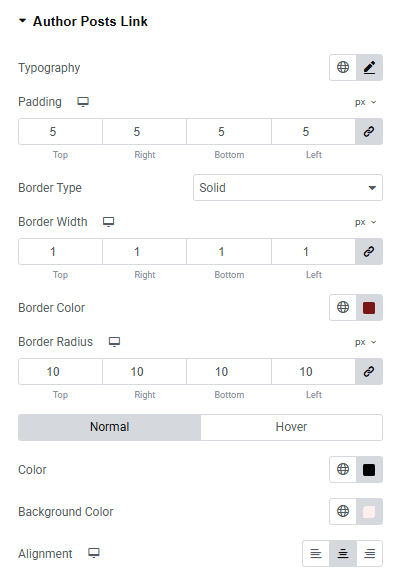
- Typography : Here you can customize the font family, size, weight, transform, style, decoration, line height, letter spacing, and word spacing for your text. Explore full typography settings here.
- Padding : Control the inner spacing around the avatar post link.
- Border Type : Define border style, width, color.
- Border Radius : Control corner roundness.
- Color : Set post link color both for normal and hover state.
- Background Color : Set post link background color both for normal and hover state. Explore full background settings here.
- Alignment : Control the horizontal alignment.
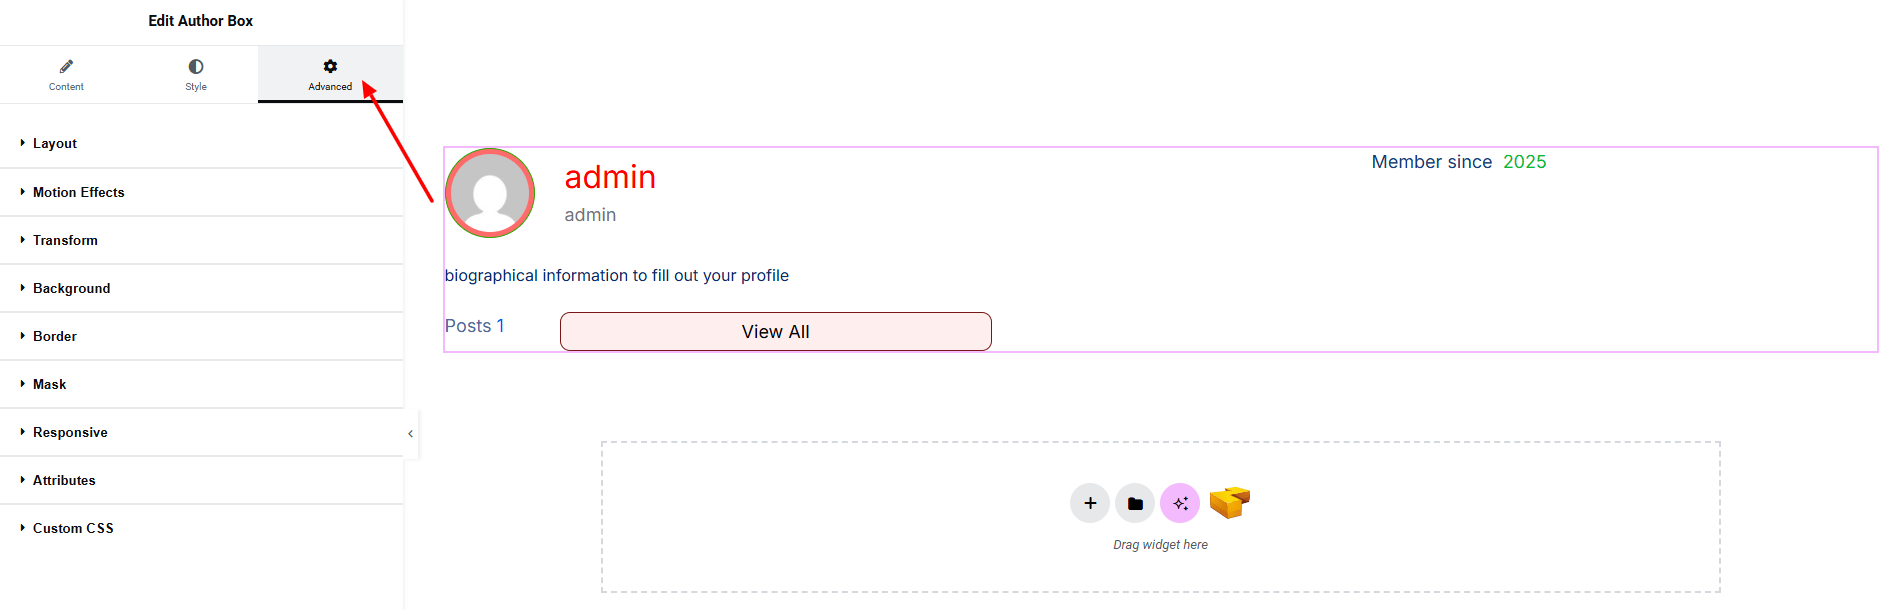
Step 4: Advance tab
If you want to customize the layout, backgrounds, or make your design more engaging, head over to the Advanced section. The Advanced panel is a default Elementor feature. Check out this document to learn more about its features.
Finally, hit the Publish button and watch your stunning Author Box come to life on your webpage!
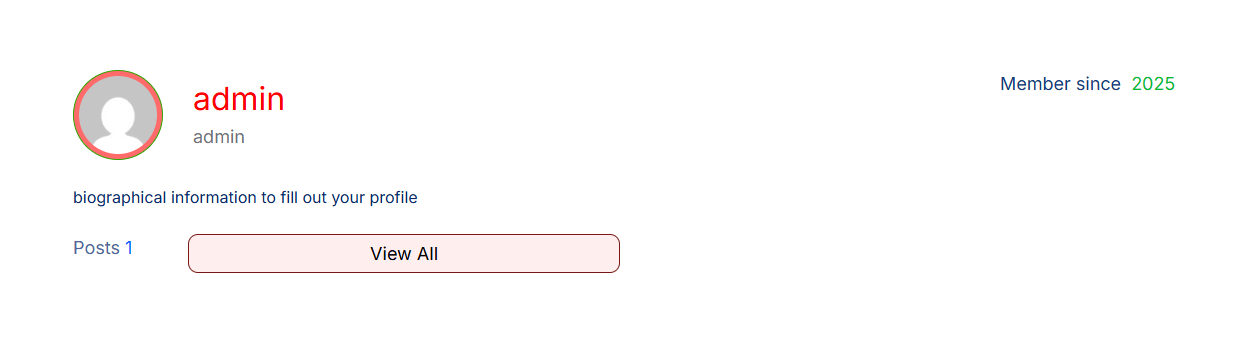
You’re all set!