
Image List
Step-by-Step Tutorial on Using the Image List Widget of Zyre Addon
The Image List Widget of Zyre Addon combines functionality with style, ensuring your website is both informative and visually captivating. With sleek layouts, unique effects, and complete customization, it transforms simple lists into impactful design elements.
Learn How To Use Image List Widget:
Exploring the Features of Image List Widget
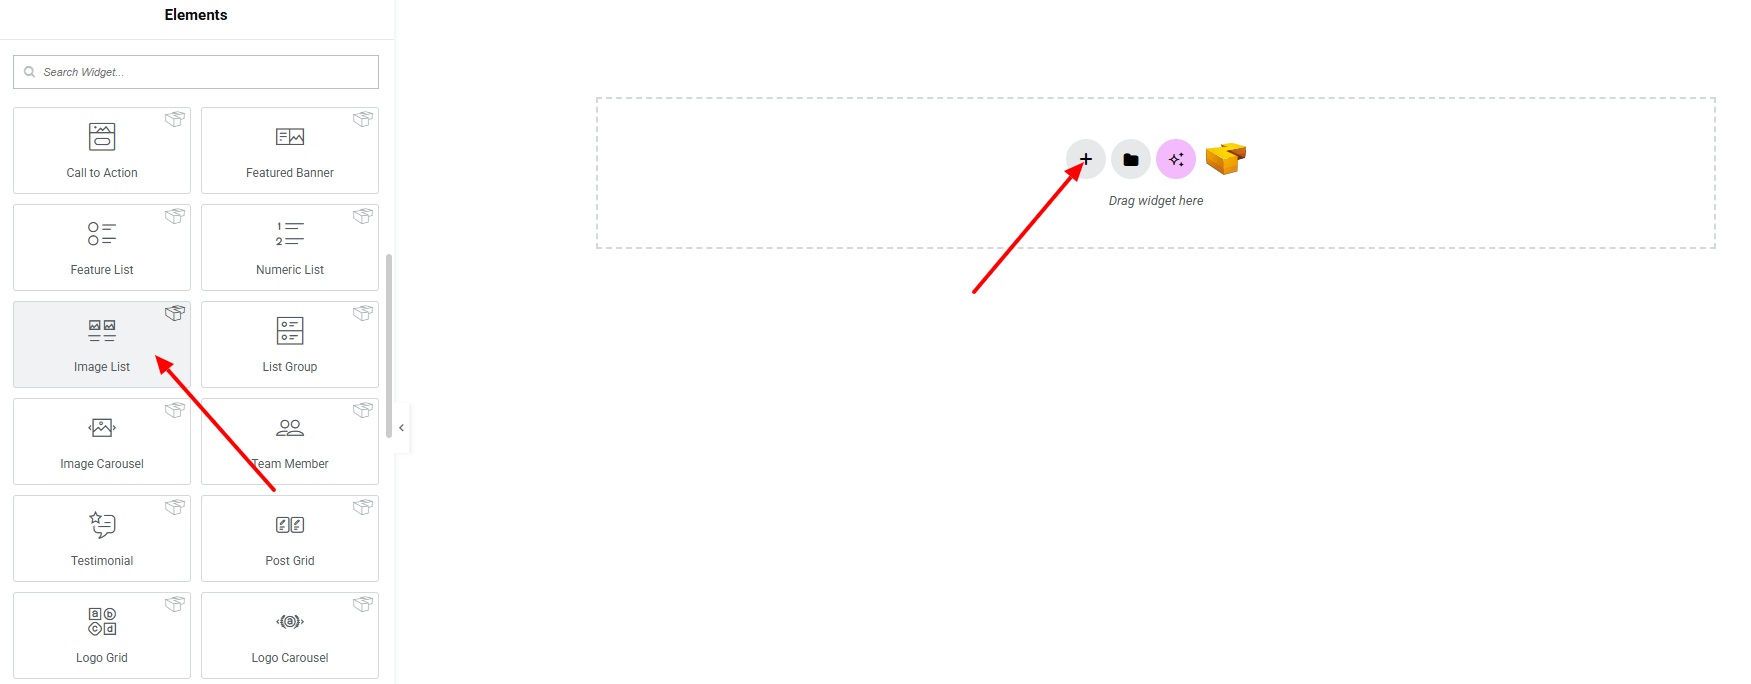
Step 1: Drag the widget
From the left panel, search or choose the Image List of Zyre Addon and simply drag it into your desired section.
Step 2: Content tab
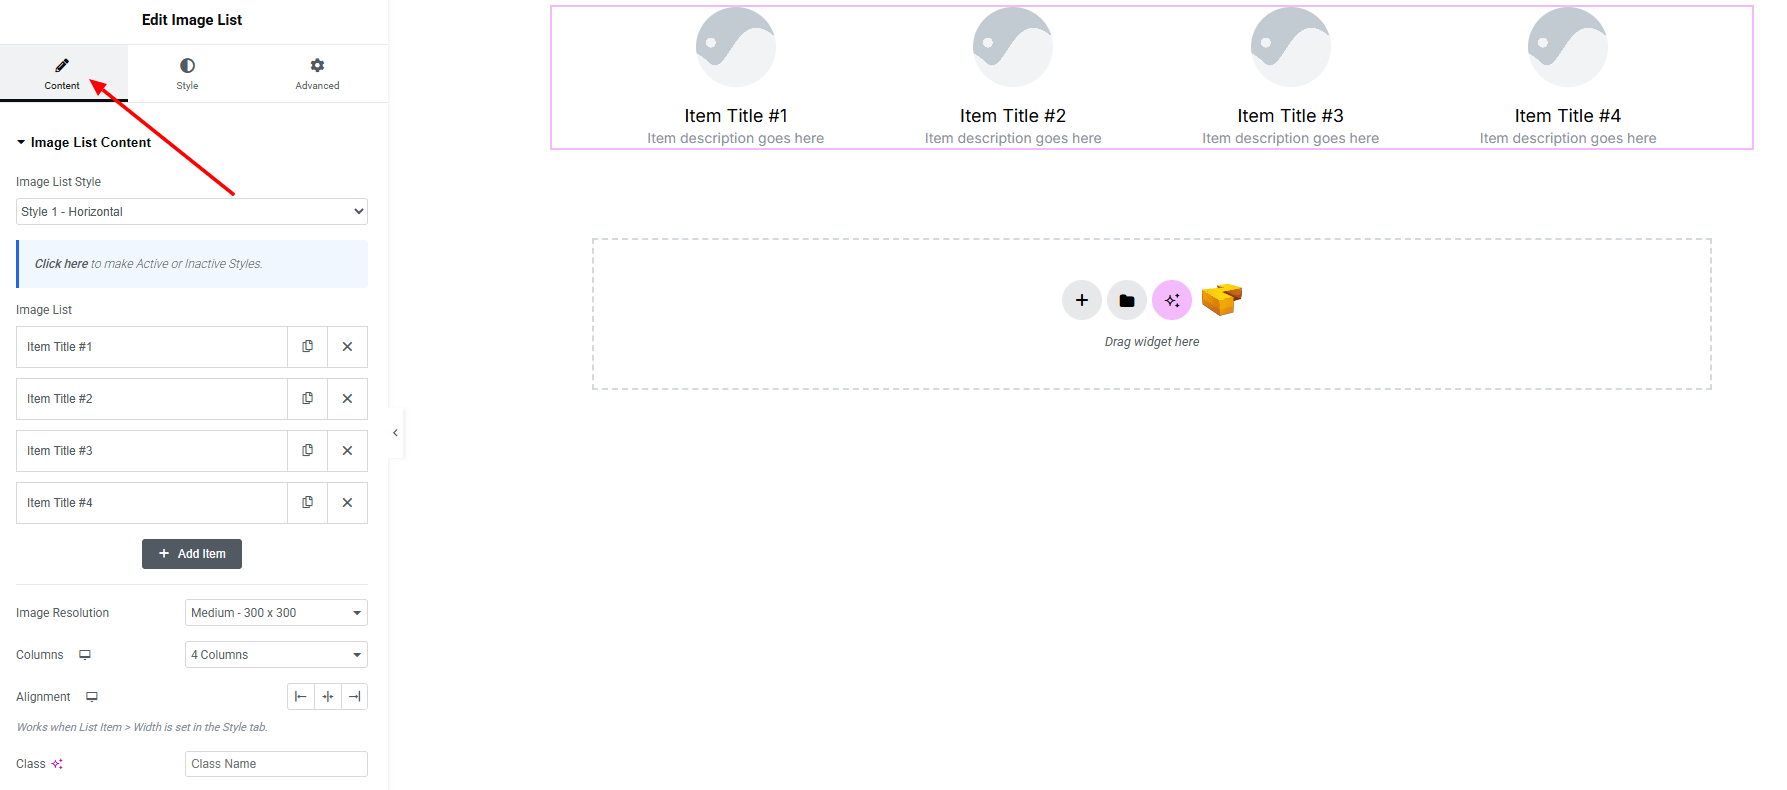
Image List Content:
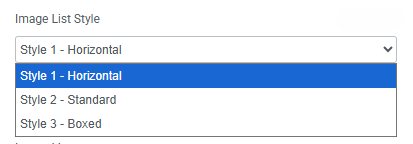
- Image List Style : You can choose a predefined style from here.
- Image List : Create and manage multiple image items.
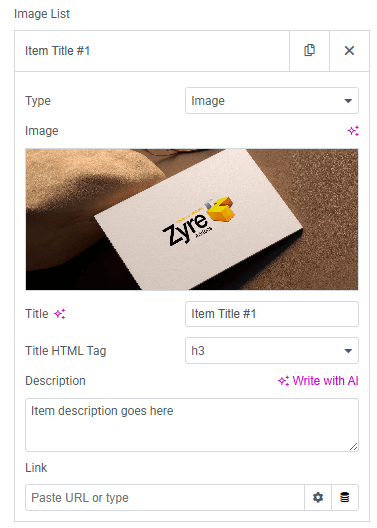
- Type : Choose the media type (Icon or Image).
- Icon/Image Selection : Upload a custom image.
- Title : Set item title.
- Title HTML Tag : Choose the HTML tag for title.
- Description : Add description of the image list item.
- Link : Set URL for the image list item.
- Image Resolution : Control the quality of list images.
- Columns : Set how many items will show per row when inline layout will be set.
- Alignment : Set items alignment.
- Custom Class : Add a CSS class for custom styling.
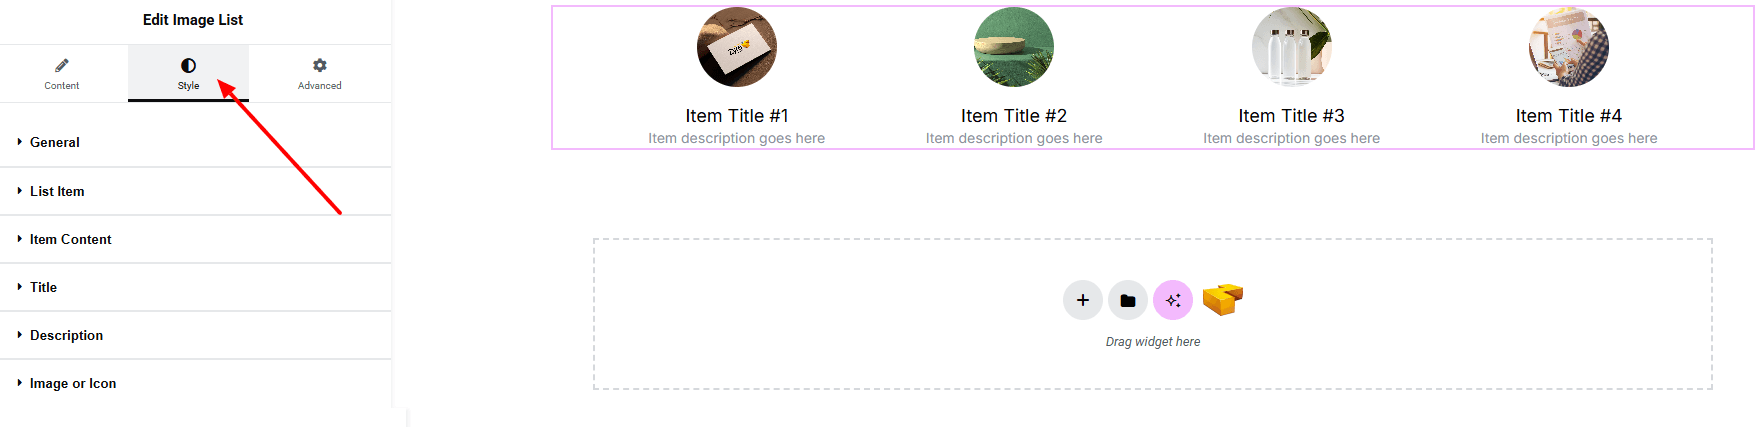
Step 3: Style tab
In the Style section, you can customize the General, List item, Item Content, Title, Description, Image or Icon— but make sure you have added them first.
General:
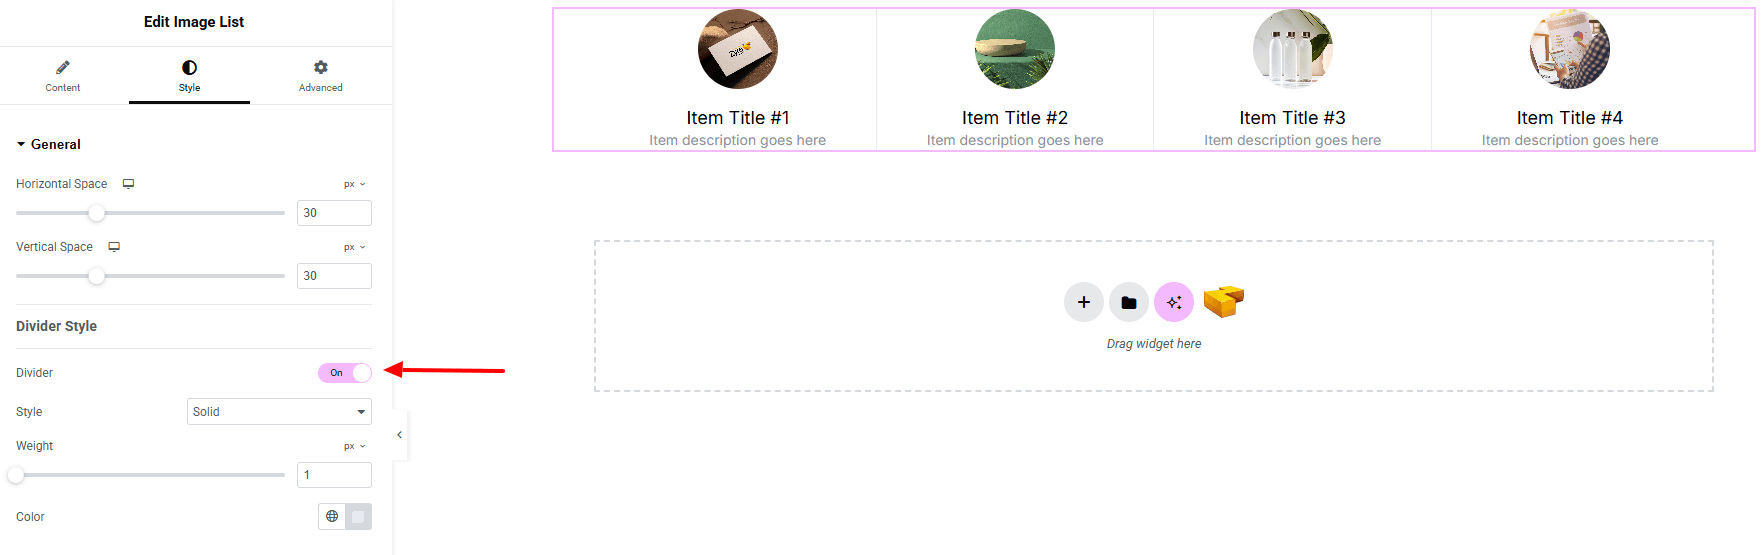
- Horizontal Space : Adjust spacing between items horizontally.
- Vertical Space : Control spacing between items vertically.
- Divider Style:
- Divider : Enable/disable the divider.
- Style : Choose divider style.
- Weight : Set the size of the divider line.
- Color : Customize divider color.
List Item:
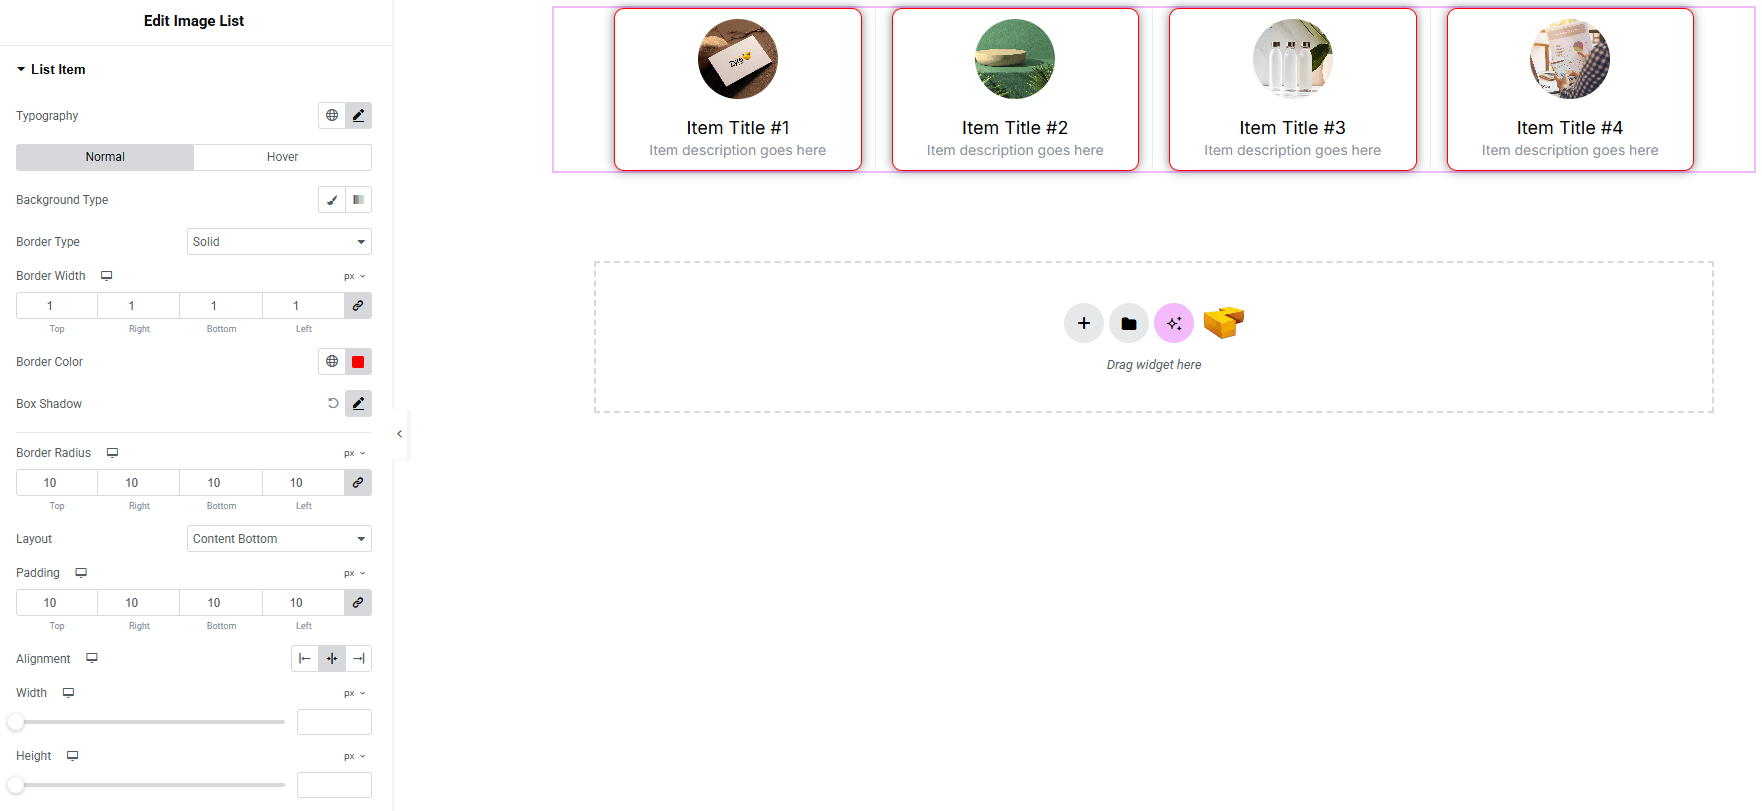
- Typography : Adjust font family, size, weight, transform, style, decoration, line height, letter spacing, and word spacing. Explore full typography settings here.
- For both normal and hover states:
- Background Type with Color : Set unique background colors or gradients for normal and hover states. Explore full background settings here.
- Border Type : Define border style, width, and color.
- Box Shadow : Apply drop shadow, with separate settings for hover interaction.
- Border Radius : Apply rounded corners to each item.
- Layout : Set where content will show – right, left, bottom.
- Padding : Add inner spacing to balance text and visuals.
- Alignment : Control text and content alignment within each item.
- Width & Height : Adjust each item dimensions for consistent design.
Item Content:
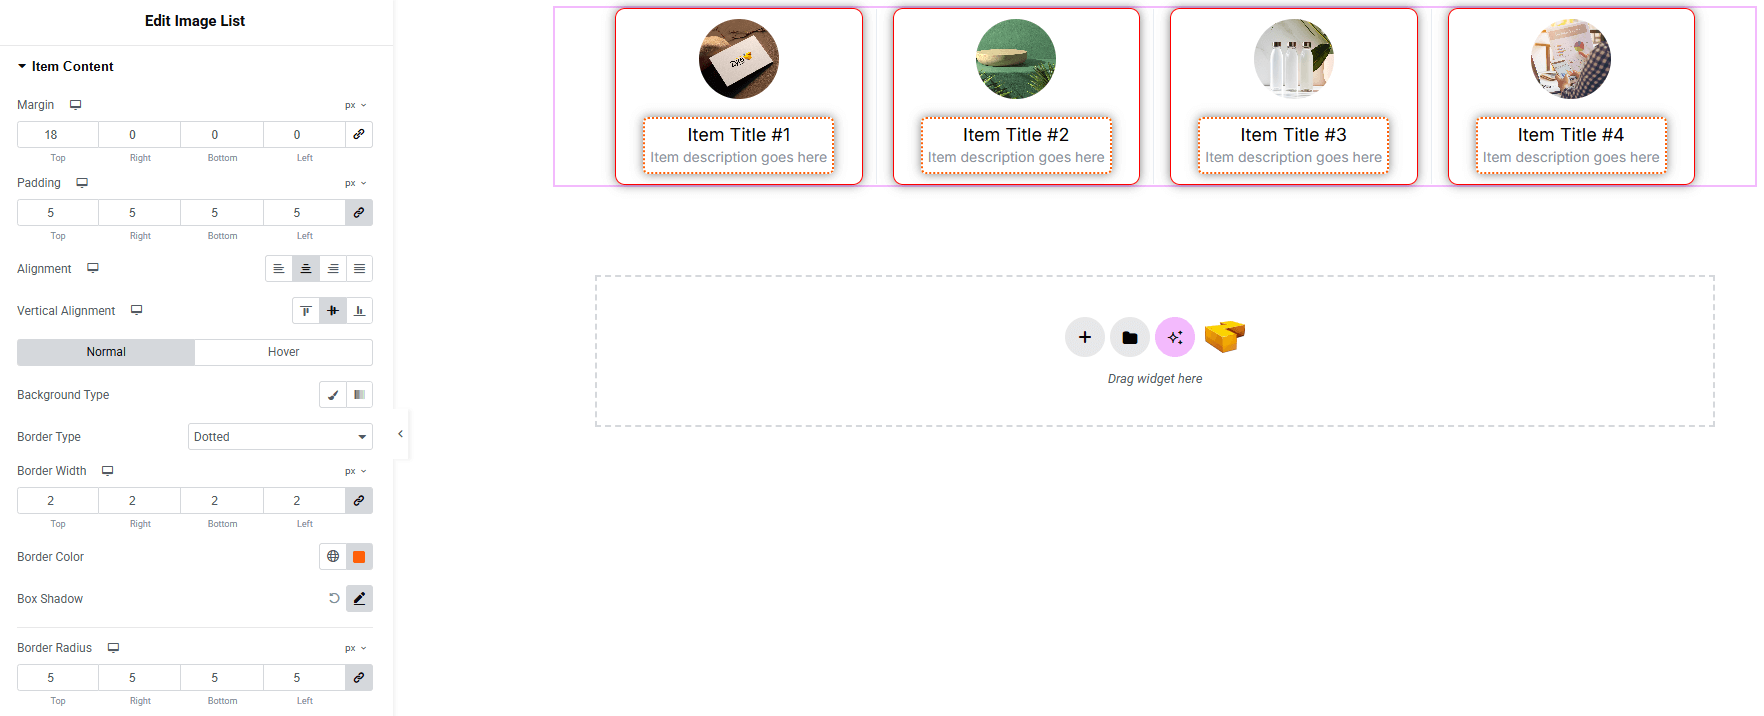
- Margin : Control the outer spacing around the item content.
- Padding : Adjust inner spacing within the item content.
- Alignment : Set text content alignment.
- Vertical Alignment : Control vertical positioning for item content.
- For both Normal & Hover States
- Background Type : Set unique background colors or gradients. Explore full background settings here.
- Border Type : Define border style, width, and color.
- Box Shadow : Apply drop shadow effect for depth and hover interaction.
- Border Radius : Round the corners of the item content.
Title:

- Typography : Adjust font family, size, weight, transform, style, decoration, line height, letter spacing, and word spacing. Explore full typography settings here.
- Text Color : Set the Title text color
- Margin : Control the outer spacing around the title.
Description:
You’ll find the same design options for the Description as in the Title — giving you full freedom to style it just the way you imagine.
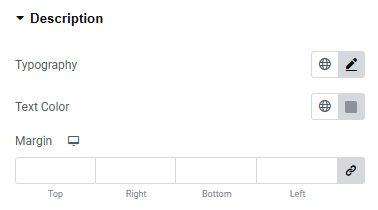
Image or Icon:
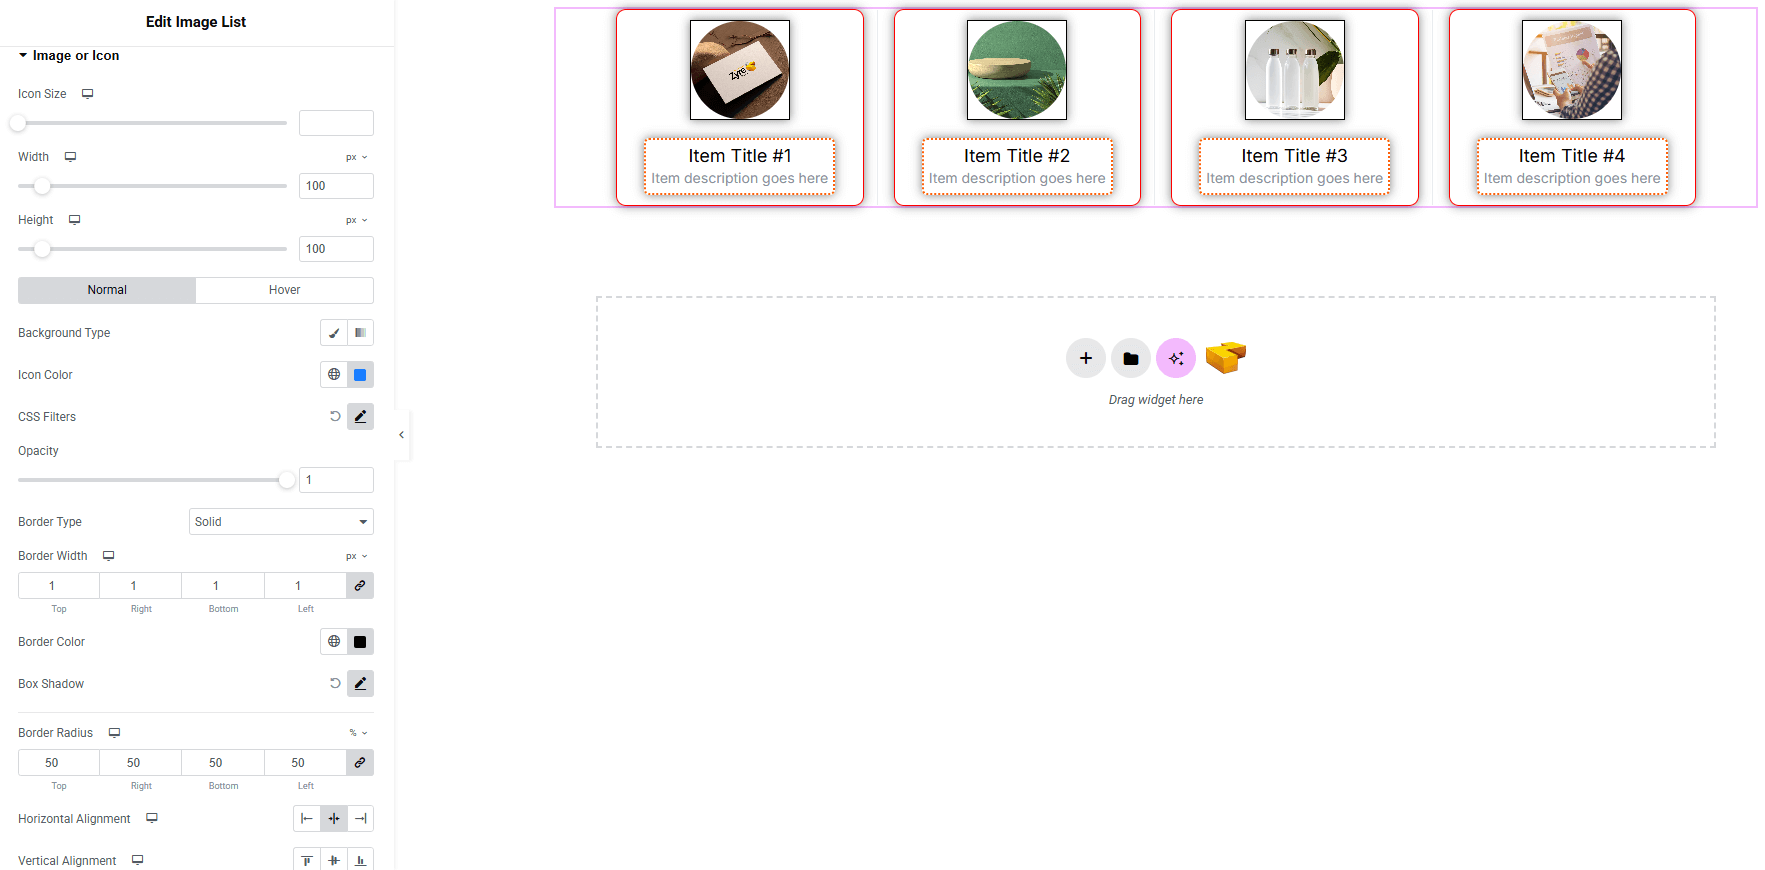
- Icon Size : Adjust the size of the icon. (as you can also choose icon)
- Width & Height : Define the dimensions of the image or icon container.
- For both Normal & Hover States:
- Background Type : Set unique background colors or gradients. Explore full background settings here.
- Icon Color : Choose the icon color for normal and hover states.
- CSS Filters : Set css filter on image or icon.
- Opacity : Set the opacity.
- Border Type : Define border style, width, and color.
- Box Shadow : Add drop shadow effect.
- Border Radius : Round the corners of the item content container.
- Horizontal Alignment : Position the image horizontally.
- Vertical Alignment : Position the image vertically.
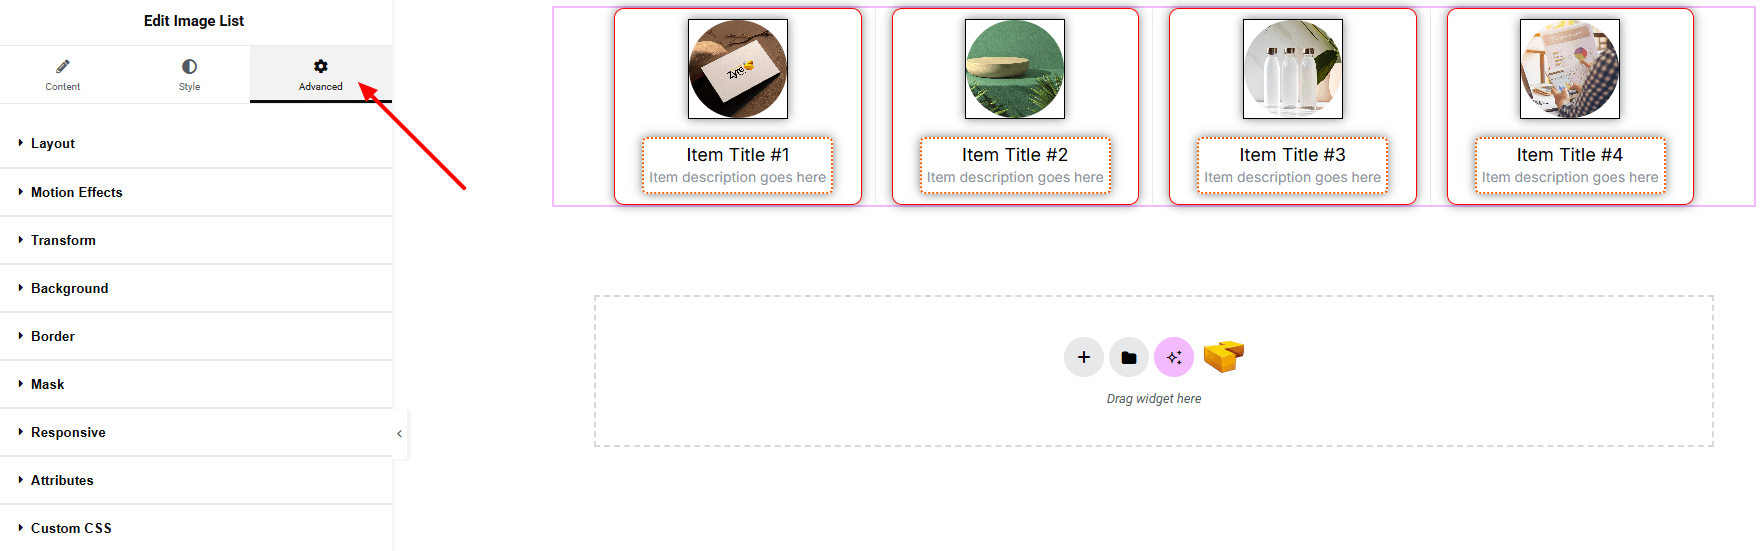
Step 4: Advance tab
If you want to customize the layout, backgrounds, or make your design more engaging, head over to the Advanced section. The Advanced panel is a default Elementor feature. Check out this document to learn more about its features.
Finally, hit the Publish button and watch your stunning Image List come to life on your webpage!
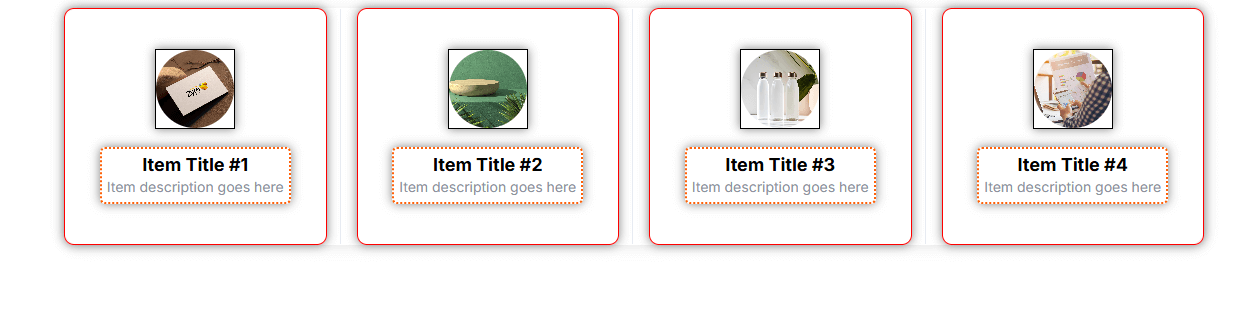
Everything’s good to go!